Step-by-Step Guide to Residential Whitewashing for Brick Walls
Whitewashing brick walls has become a popular way to refresh residential spaces with a touch of rustic elegance. Unlike paint, whitewash allows the natural texture and color variations of brick to subtly show through, creating a soft, timeless finish that blends old-world charm with modern appeal. Homeowners and designers alike appreciate its affordability, low maintenance, and the character it adds to both interiors and exteriors.
Here are five essential steps to whitewash brick the right way for lasting results.
Table of Contents
Key Takeaways
✔ Whitewashing brick creates a soft, timeless look while preserving natural texture.
✔ Proper surface cleaning is essential for a long-lasting whitewash finish.
✔ Testing the whitewash mixture helps achieve the right opacity and tone.
✔ Applying in small sections ensures even coverage and fewer streaks.
✔ Sealing whitewash brick exterior surfaces adds protection against weather.
✔ Whitewash brick vs limewash differs in materials, application, and finish.
✔ Most common whitewashing mistakes are easy to fix with simple touch-ups.
✔ Pairing whitewashed brick with wood, metal, or bold decor enhances design impact.
How to Whitewash Brick Walls: A Simple Step-by-Step Process
1. Clean the Brick Surface Thoroughly
Every successful whitewash brick project starts with a clean surface. Dirt, mildew, and peeling residue can keep the whitewash from bonding correctly. Whether it’s an interior accent wall or a full whitewash brick exterior, this step sets the stage for a lasting finish.
How to Prepare Brick for a Strong, Even Bond
- Remove Dirt, Dust, and Soot: Use a stiff-bristle brush to scrub the brick from top to bottom, clearing away surface dust and soot buildup. For stubborn grime—especially around fireplaces or exteriors—a mild soap and water solution works well.
- Inspect for Mold and Mildew: Check for dark spots or patches, which could be mold hiding in porous brick. Scrub with a mixture of one part vinegar to three parts water, then rinse thoroughly and allow the brick to dry fully before applying whitewash.
- Eliminate Loose Mortar or Paint: Use a wire brush or scraper to chip away any flaking paint or crumbling mortar, especially on older homes. This helps the whitewash brick finish soak in evenly and prevents peeling over time.
2. Test the Whitewash Mixture
Before applying whitewash to an entire wall, it’s smart to test the mixture first. This avoids surprises and gives a chance to adjust the color strength. A small patch test can help determine the right look, especially when dealing with aged or multicolored brick.
How to Customize Whitewash for the Best Finish
- Choose the Right Water-to-Paint Ratio: A common mix is 50% water and 50% latex paint, but this can vary depending on how much brick detail is desired. For example, a 70/30 mix offers a lighter, washed-out effect—perfect for rustic interiors in a whitewash brick house.
- Test on a Hidden Section First: Apply the mixture on an inconspicuous section, like behind furniture or near the floor. Once dry, the finish will appear lighter, so it’s important to wait a full 24 hours before deciding if adjustments are needed.
- Adjust Based on Brick Color and Texture: Darker bricks absorb more, requiring less water in the mix, while smooth bricks reflect more, which might need a thinner coat. A classic red-brick fireplace may need a thicker coat for full coverage, while rough-faced bricks on a whitewash brick exterior will naturally catch more pigment for a textured look.
3. Apply the Whitewash Evenly
Once the test patch dries and looks right, it’s time to apply the whitewash brick mixture to the full wall. A smooth, even application creates a clean, intentional finish. Working in sections helps control the look and prevents overlapping marks.
How to Get a Natural Look With Each Brushstroke
- Use the Right Tools for the Job: A large masonry brush works well for rough surfaces, while a standard paintbrush can help with detail work. For larger projects like a whitewash brick exterior, some use a roller or even a sprayer, but brushing offers the most control.
- Work in Small Sections: Divide the wall into manageable 2×2 ft. squares and focus on one area at a time. This helps ensure consistency and allows time to wipe away excess if a more distressed look is preferred.
- Wipe or Layer for Texture: To create a weathered look, lightly wipe the whitewash with a dry rag after application while it’s still wet. For a brighter finish, allow it to dry fully and apply a second coat—this technique is often used in whitewash brick vs limewash comparisons when aiming for a more opaque appearance.
4. Let It Dry and Inspect
Drying is more than waiting—it’s when the real finish reveals itself. Whitewash always looks darker when wet and can dry unevenly depending on the surface. Taking time to inspect the dried wall ensures the final look matches the vision.
How to Evaluate the Results Before Moving Forward
- Give It Time to Cure Properly: Let the surface dry for at least 24 to 48 hours in a well-ventilated area. For exterior jobs, like a whitewash brick exterior on a patio wall, plan for mild, dry weather to avoid blotchy spots caused by moisture.
- Look for Color Variations or Missed Spots: After drying, step back and check the wall in natural daylight to catch any uneven tones or patchy areas. If needed, do small touch-ups with a brush, especially around window frames or trim.
- Decide If a Second Coat Is Needed: If the whitewash appears too light or transparent, a second coat may be necessary. This step is especially common when aiming for a more solid finish seen in whitewash exterior brick before and after comparisons.
5. Seal the Brick (Optional)
Though not always required, sealing the whitewashed brick can protect the finish—especially outdoors or in high-moisture areas. A breathable, clear masonry sealer helps maintain the look without trapping moisture.
How to Keep the Whitewash Looking Fresh for Years
- Choose a Sealer Designed for Masonry: Use a non-gloss, water-based sealer made for porous surfaces. This works well on both interior walls and outdoor whitewash brick exteriors, helping to resist rain, mildew, and fading from sunlight.
- Apply After Full Curing: Wait at least 72 hours after the last coat of whitewash before sealing. This prevents streaking and allows the brick to release any trapped moisture before locking it in.
- Use a Brush or Pump Sprayer for Application: A hand-held sprayer works great for large outdoor areas like a whitewash brick house, while a brush offers better control indoors or around detailed edges. Always apply in a thin, even coat and avoid over-saturating the surface.
How to Choose Between Whitewash Brick vs Limewash
Whitewashing and limewashing both give brick a softened, vintage look, but the two techniques differ in composition, durability, and application. Understanding the key differences can help determine which method works best for a particular project—whether it’s a cozy indoor fireplace or a full whitewash brick exterior.
Here’s a breakdown of six important factors to consider when comparing whitewash brick vs limewash:
1. Material Composition
Whitewash typically uses a mix of latex paint and water, while limewash is made from slaked lime and water. The paint in whitewash forms a surface layer, while limewash chemically bonds with the brick over time. This bonding gives limewash a more natural, chalky appearance but also means it must be applied to bare, unsealed brick.2. Surface Compatibility
Whitewashing works on most brick surfaces, including previously painted walls, making it a flexible option for renovations. In contrast, limewash only adheres properly to porous, unpainted brick and stone. This makes whitewash brick finishes more accessible for older homes or areas with existing treatments.3. Durability and Maintenance
Limewash weathers naturally, fading gently over time, which many homeowners find charming. However, it may require periodic refreshing every five to seven years, especially on a limewash exterior. Whitewash brick surfaces, once sealed, typically last longer and resist moisture and UV damage better with minimal upkeep.4. Application Technique
Whitewashing is applied like paint, often with a brush or roller, and can be done in layers for varied opacity. Limewash needs to be misted with water first, then brushed on in sections before it dries too quickly. For DIY projects, whitewash is often easier to control, especially for achieving consistent results on a large whitewash brick house.5. Aesthetic Finish
Whitewash allows some of the brick’s natural tone and texture to show through, creating a soft, layered look. Limewash, on the other hand, gives a velvety, matte finish that looks more aged and earthy. Depending on the project goals, whitewash brick vs limewash can create two very different styles—one refined, the other more rustic.6. Cost and Accessibility
Whitewashing is generally more affordable and uses materials that are easy to find at any home improvement store. Limewash is a bit more specialized, and though not expensive, may require ordering from a masonry supplier. For someone working on a budget or needing quick turnaround, whitewash brick projects offer more convenience.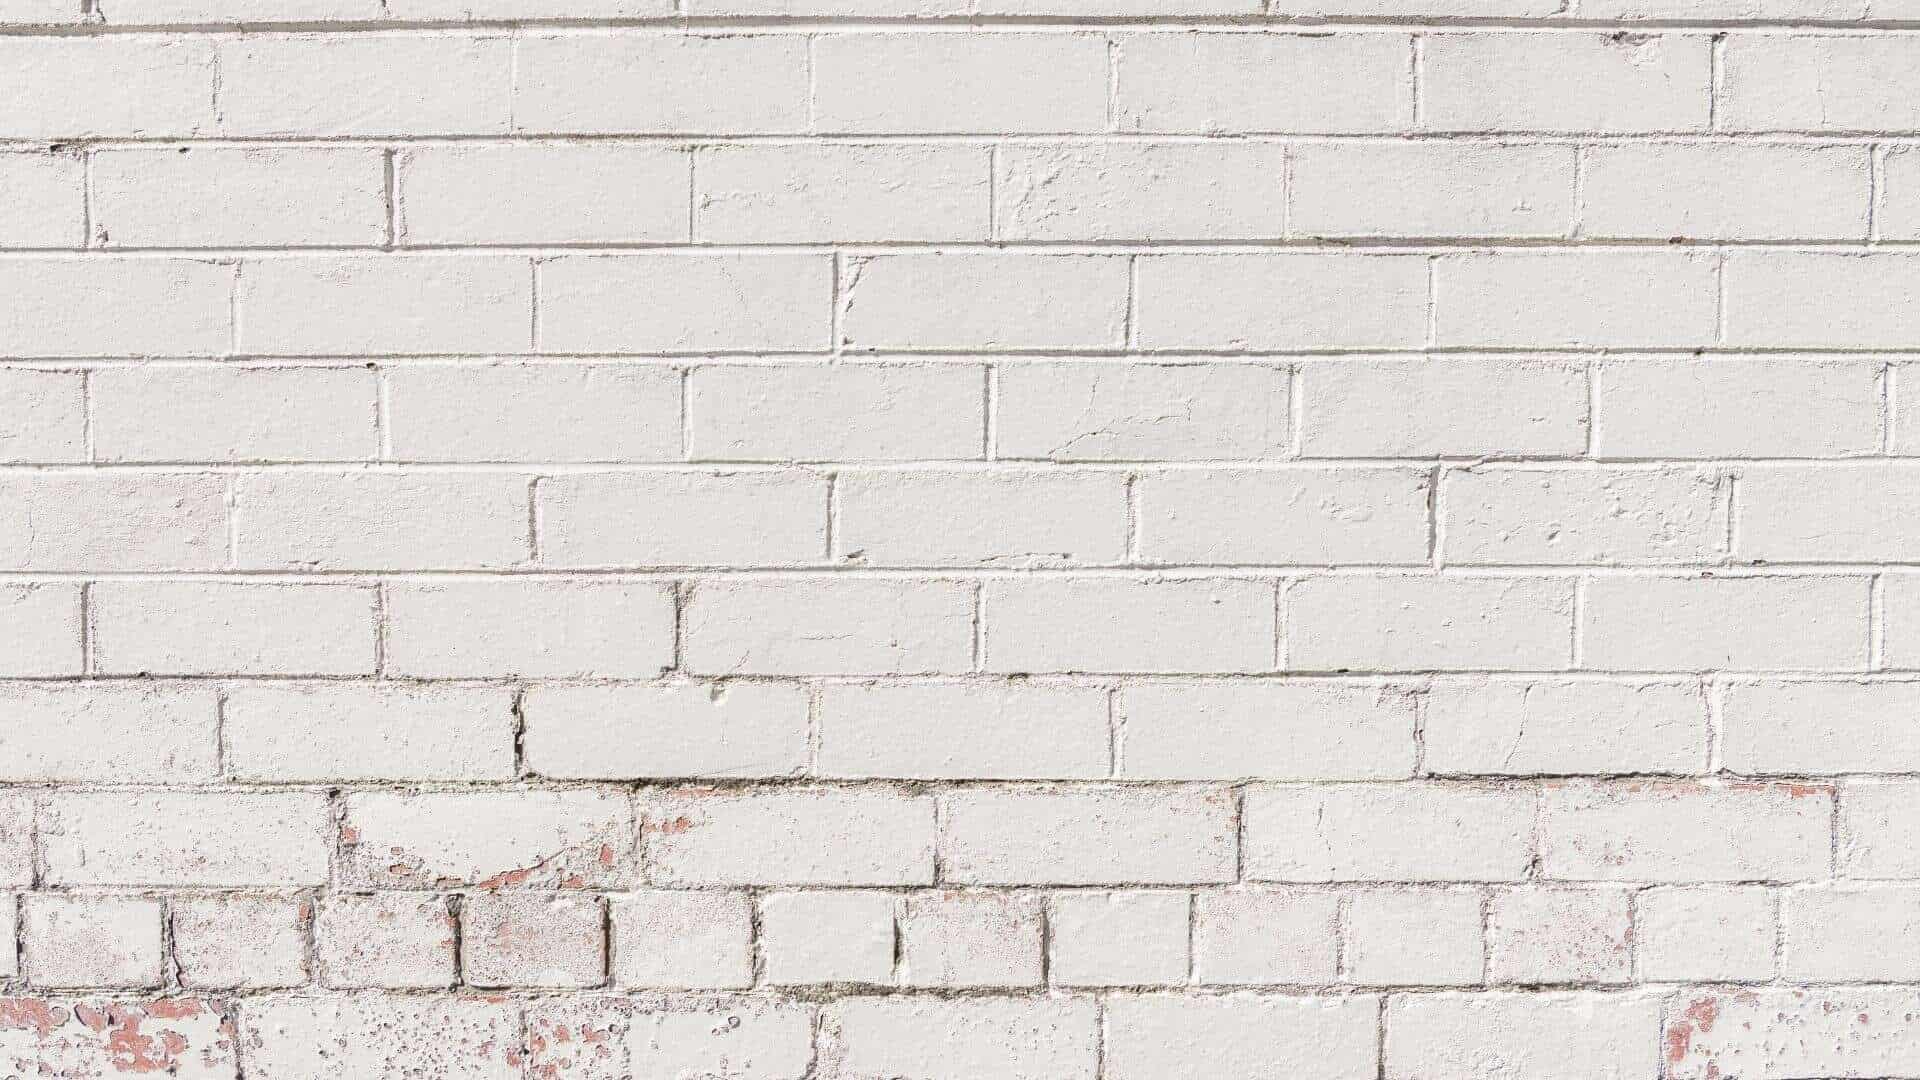
How to Fix Common Whitewashing Mistakes
Even with careful planning, whitewashing brick can sometimes lead to uneven results or unexpected finishes. Fortunately, most issues are easy to correct with a few practical adjustments—especially important considering the average cost to install a brick wall is $5,000.
Whether it’s a streaky coat or a too-bright wall, here’s how to troubleshoot and fix the most common whitewash brick problems:
1. Patchy or Uneven Coverage
Inconsistent whitewash usually comes from applying the mixture in large sections without blending. To fix this, dampen the blotchy areas with a sponge and lightly brush on more whitewash using the original paint-to-water ratio. For whitewash brick exterior walls, work in cooler weather or shade to slow drying and allow for better blending.2. Whitewash That’s Too Bright or Opaque
A mixture that’s too thick can make brick lose its natural texture and warmth. Lightly sanding the surface with fine-grit sandpaper helps expose more brick and reduce the brightness. This technique is especially useful for restoring contrast on a flat whitewash brick house facade.3. Drips and Runs
Drips often happen when the brush is overloaded or the mix is too watery. Once dry, these can be sanded down or touched up with a small brush and a more balanced whitewash mix. On vertical surfaces like a whitewash brick exterior, start from the top and work downward in sections to avoid runs.4. Whitewash That Peels or Flakes
Peeling happens when whitewash is applied to dirty, sealed, or wet brick. Scrape off the flaking areas, clean the surface thoroughly, and reapply a thinner coat once it’s dry. Always test for absorption before reapplying whitewash brick mixtures to avoid repeating the issue.5. Missed Spots or Inconsistent Texture
Sometimes, high or recessed areas on textured brick don’t catch the whitewash evenly. Use a detail brush to fill in uneven patches, blending the edges gently to match the surrounding tone. This is especially common on older whitewash brick houses with irregular masonry patterns.6. Discoloration After Drying
If the whitewash dries with yellow or pink undertones, it may be reacting with minerals or old paint on the brick. Apply a color-blocking primer over the discolored areas, then reapply the whitewash in light, even coats. This fix works well when restoring the look of a faded whitewash exterior brick before and after comparison. Combining Whitewashed Brick with Other Design Elements
A whitewash brick finish works as more than just a statement wall—it becomes a foundation for layering textures, tones, and style. When paired thoughtfully with other design elements, it can shift between farmhouse charm, coastal calm, or modern minimalism. The right combinations bring out the brick’s natural warmth and highlight the soft depth created by whitewashing.
1. Natural Wood Accents
The earthy grain of natural wood contrasts beautifully against a whitewash brick wall. Whether it’s oak ceiling beams, walnut shelving, or pine furniture, the warmth of wood softens the cool tones of the whitewash. This pairing is especially striking in whitewash brick house interiors with neutral color palettes.
2. Matte Black Fixtures and Frames
Matte black lighting, hardware, and window frames offer clean contrast and modern structure. Against the texture of whitewashed brick, black accents ground the space and prevent it from feeling too faded or washed out. In whitewash brick exterior settings, black shutters or iron railings add curb appeal without overpowering the brickwork.
3. Industrial Metals and Concrete
Pairing whitewashed brick with raw metals or concrete gives a space an urban edge. Steel light fixtures, concrete countertops, or iron staircases work well in loft-style designs, especially when softened by the brick’s character. This mix helps balance the raw feel of modern materials with the rustic tone of whitewash brick.
4. Neutral and Earth-Toned Fabrics
Cream, taupe, linen, and clay-colored textiles complement the subtle tones of whitewashed brick. Layering these fabrics through curtains, pillows, and upholstery creates depth without clashing. In a whitewash brick house, this blend creates a timeless, calming backdrop for daily living.
5. Bold Artwork and Wall Decor
A whitewashed wall offers the perfect canvas for bold or oversized artwork. Black-and-white prints, abstract canvases, or colorful statement pieces pop without overwhelming the space. For whitewash exterior brick before and after transformations, consider adding outdoor art, signage, or vertical planters for a finished look.
6. Mixed Flooring Textures
Combining whitewashed brick with textured flooring—like wide-plank wood, stone tile, or patterned rugs—adds visual interest from the ground up. Each element plays off the others, enhancing the brick’s softness and structure. In a whitewash brick vs limewash design scheme, this layering helps define the final tone and feel of the room or exterior.
Frequently Asked Questions (FAQs)
Can whitewash be applied over painted brick?
Whitewash typically doesn’t adhere well to painted surfaces because the paint creates a barrier between the brick and the whitewash mixture. If the brick has already been painted, it’s best to strip or sand the surface to allow for better absorption. For a true whitewash brick effect, the surface needs to be porous and unsealed.
Will whitewash protect brick from moisture or weather damage?
Whitewash provides a mild protective layer but doesn’t fully seal brick from moisture, especially in harsh climates. For better long-term durability on a whitewash brick exterior, applying a breathable masonry sealant is recommended. This helps protect against rain, mildew, and UV exposure without compromising the brick’s ability to breathe.
How does whitewash perform in humid climates?
In humid regions, whitewash can take longer to dry and may be more prone to uneven curing. Proper surface prep and weather timing are essential for whitewash to hold up, especially when working on a whitewash brick house. Choosing days with low humidity and using a quick-dry latex blend can help maintain a consistent finish.
Can whitewash be tinted to colors other than white?
Yes, whitewash can be tinted using a small amount of colored latex paint added to the mix. Soft gray, beige, or even pale blue tints work well for subtle effects while still preserving the whitewash brick look. Always test a sample area first, especially for whitewash brick vs limewash comparisons where color depth varies.
Is whitewashing reversible or easy to change later?
Whitewashing is semi-permanent but can be painted over or power washed off in some cases, depending on the surface. Removing it from a whitewash brick exterior is more difficult due to exposure and absorption. For homeowners wanting flexibility, testing on a small section before committing is a smart first step.
Refresh Your Brick with Prospect House Painting Pros!
At Prospect House Painting Pros, we bring timeless charm to homes with expert whitewash brick services that enhance curb appeal and character. Whether it’s updating a weathered fireplace or transforming an entire brick exterior, our team handles every detail with skill and care. Based right here in Prospect, CT, we know how to make local homes stand out with finishes that last.
Let our experience turn your brick surfaces into something beautiful—schedule a consultation today and see the difference for yourself.