- Free Estimates
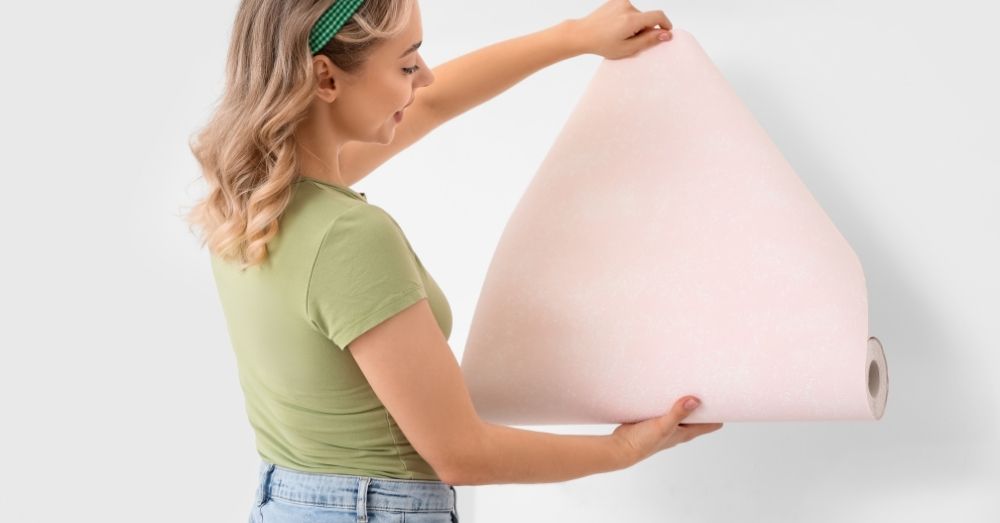
If you’ve ever wanted to give your home a fresh, stylish upgrade without the hassle of traditional wallpaper or paint, peel and stick wallpaper is the answer. This renter-friendly, DIY-friendly product has revolutionized interior decorating. Unlike traditional wallpaper, which requires messy paste and a professional touch, this modern option is designed for simple application, easy removal, and endless creativity.
✔ Peel and stick wallpaper is a self-adhesive, renter-friendly alternative to traditional wallpaper.
✔ It’s easy to install, removable, versatile, and affordable.
✔ Challenges include adhesion issues on textured walls, humidity sensitivity, and precise alignment needs.
✔ With proper prep and planning, installation is straightforward and beginner-friendly.
✔ It can be used creatively on walls, small spaces, and furniture for quick makeovers.
Peel and stick wallpaper is a self-adhesive wall covering. Each sheet or roll comes with a sticky backing that clings directly to the wall. You simply peel off the protective layer and smooth it onto your chosen surface.
In short, installing peel and stick wallpaper is perfect for quick makeovers but requires the right preparation for lasting results.
Installing peel and stick wallpaper isn’t limited to walls. Creative decorators have found countless ways to use it.
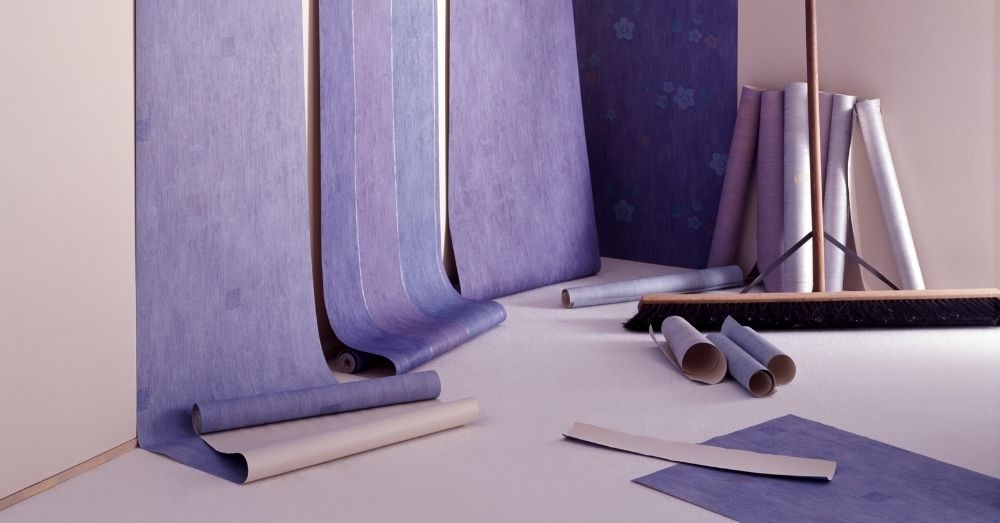
With the removable wallpaper market projected to reach USD 2.0 billion by 2025, it’s clear that more homeowners and renters are embracing this trend. Preparing your walls correctly ensures you get the most out of a product that continues to grow in popularity worldwide.
Before you begin, collect:
To avoid running of wall paper peel and stick options mid-project, measure the height and width of each wall. Multiply to find square footage, then add 10–15% extra to account for trimming and pattern matching.
Remember: A clean, flat surface is the foundation for a flawless result when you install peel and stick wallpaper.
Good planning prevents wasted material and visible seams.
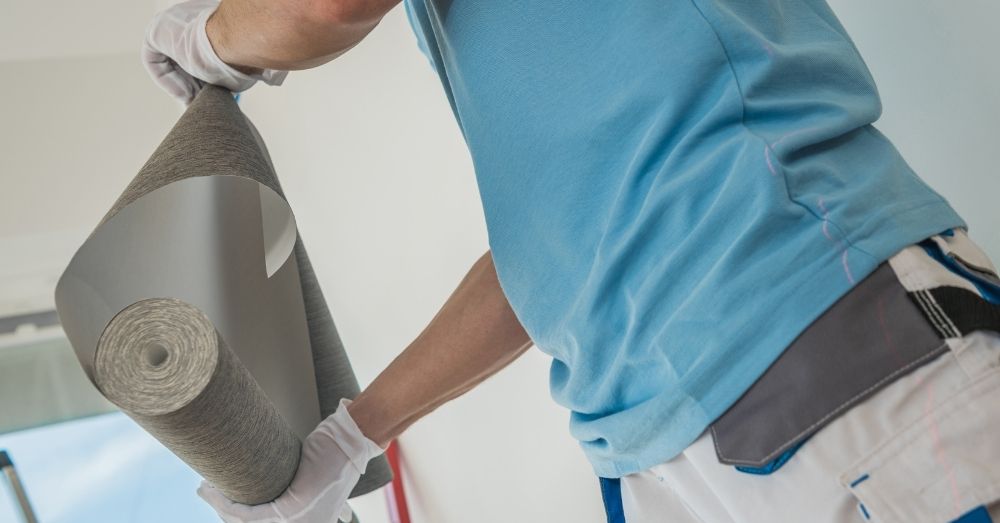
Now, let’s get to the fun part: the actual installation of wall paper peel and stick options. Learning how to put up peel and stick wallpaper gets easier as you progress. By the second or third strip, you’ll develop a smooth rhythm.
Use your smoothing tool to press the strip firmly against the wall. Work from the center outward to remove bubbles and wrinkles.
Line up the edges carefully to match the pattern. Depending on the brand, you may slightly overlap or butt edges together.
For peel and stick wallpaper for bathrooms, turn off electricity before working around outlets. Apply wallpaper over the fixture, then cut neatly with a utility knife.
At the top and bottom edges, press firmly into the crease with your smoothing tool. Trim excess with a sharp blade for crisp lines.
Even with careful planning, mistakes can happen. Here’s how to fix them:
The best way to hang peel and stick wallpaper is by starting with a clean, smooth surface. Peel back only a small section of the backing at a time so you can reposition if needed. Use a level and smoothing tool to keep the wallpaper straight and bubble-free.
Peel and stick wallpaper is usually meant to be applied edge to edge, not overlapped. Overlapping can create visible ridges and may cause peeling. Only overlap slightly in tricky spots like corners if the instructions recommend it.
The best way to conceal seams is by aligning patterns carefully and pressing firmly along the edges. A smoothing tool or seam roller helps the strips blend together. For stubborn gaps, a small touch of matching paint can disguise the line.
Yes, it’s worth it if you want an easy, renter-friendly way to update your space. It offers style and flexibility without the mess of traditional wallpaper. While not as long-lasting as permanent options, its convenience makes it very popular.
Lower-cost or older peel-and-stick wallpaper typically lasts about three years. Newer, higher-quality designs can stay up for seven years or more. Longevity also depends on how well the surface was prepared and the room’s humidity levels.
If you’re ready to give your home a fresh new look, trust Prospect House Painting Pros—the most trusted house painting company in the area. Whether you want to brighten up your walls with a bold new color or remove old wallpaper to start fresh, our team in Prospect, CT, has the skill and experience to get the job done right.
Contact Prospect House Painting Pros today to schedule your consultation!