Fresh pressure-treated wood may look ready for paint as soon as it is installed, but appearance can be misleading. Many Connecticut homeowners run into peeling paint, bubbling finishes, or uneven coverage because the lumber still holds too much moisture beneath the surface. That issue becomes even more common in Prospect, CT, where humidity, rain, shaded lots, and freeze-thaw cycles affect how quickly exterior wood dries.
Painting pressure-treated wood takes patience, proper prep, and the right coating system. When the wood is cleaned, tested, primed, and painted at the right time, the finish has a much better chance of holding up outdoors.
What’s In This Guide
- Can You Paint Pressure-Treated Lumber?
- How Long Should Pressure-Treated Wood Dry Before Painting?
- The Water Drop Test
- How Prospect, CT, Weather Affects Painting Readiness
- How to Paint Pressure-Treated Wood Properly
- When to Call an Exterior Painting Contractor Near Me
- Frequently Asked Questions (FAQs)
- Protect Exterior Wood With Proper Preparation
Quick Facts
- Let pressure-treated wood dry fully to prevent peeling.
- Prospect, CT, moisture and shade can slow drying time.
- Use the water drop test before priming.
- Exterior primer helps paint bond and last.
- Hire a local contractor for larger projects.
Can You Paint Pressure-Treated Lumber?
Yes, you can paint pressure-treated lumber, but it must dry properly before primer or paint is applied. Pressure-treated wood is manufactured with preservatives designed to resist insects, rot, and moisture damage.
Because of that process, many boards are still damp when purchased, especially lumber used for railings, porch details, stairs, deck skirting, and exterior trim.
One of the most common mistakes homeowners make is assuming new wood is automatically ready for paint. In reality, painting pressure-treated lumber too early traps moisture inside the wood fibers.
As temperatures and humidity change, that moisture can push against the coating and lead to peeling, bubbling, or poor adhesion.
How Long Should Pressure-Treated Wood Dry Before Painting?
Drying time depends on several factors:
- Type of pressure-treated lumber
- Exposure to sunlight
- Local humidity levels
- Air circulation
- Recent rainfall
- Board thickness
- Whether the wood was kiln-dried after treatment
In Prospect, CT, homeowners may need to wait several weeks to a few months before painting pressure-treated wood. Lumber installed during rainy spring weather, humid summer conditions, or in shaded areas may take longer. Kiln-Dried After Treatment (KDAT) can dry faster than standard treated wood. Still, it should always be tested before painting.
The Water Drop Test

A quick way to check readiness is the water drop test.
Sprinkle a few drops of water onto the wood surface:
- If the water beads up, the wood likely contains too much moisture
- If the water absorbs into the surface, the wood may be ready for primer and paint
This test is helpful, but it is not perfect. For better accuracy, especially on larger exterior projects, use a moisture meter and follow the paint manufacturer’s moisture guidelines.
How Prospect, CT, Weather Affects Painting Readiness
Connecticut weather can make exterior painting less predictable. Moisture levels shift throughout the year, especially around shaded yards, wooded properties, and homes with limited airflow.
Several local conditions affect drying time:
- Humid summer air slows moisture evaporation
- Frequent rain keeps surfaces damp
- Morning dew can reintroduce moisture overnight
- Cooler fall temperatures extend drying times
- Freeze-thaw cycles stress exterior coatings
Homes surrounded by mature trees often experience slower drying because sunlight and airflow are limited. Even pressure-treated lumber installed weeks earlier may still retain moisture internally.
This matters because exterior paint only performs well when the substrate underneath remains stable and dry.
| MORE ON THIS TOPIC: Eco-Friendly Painting With Low VOC Paints in Prospect
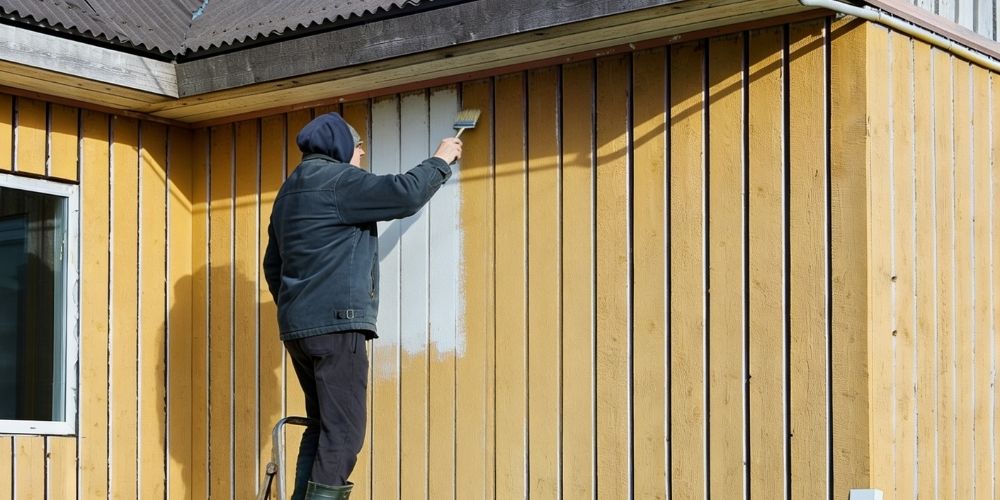
How to Paint Pressure-Treated Wood Properly
Successful painting starts before the first coat goes on. Skipping prep work can shorten the life of the finish and lead to early failure.
Step 1: Let the Wood Dry Completely
Never rush the drying process. Check weather conditions before planning the project. Avoid painting immediately after rain or during periods of heavy humidity.
If possible, allow several consecutive dry days before starting prep work.
Step 2: Clean the Surface Thoroughly
Pressure-treated wood often collects:
- Dirt
- Pollen
- Construction residue
- Mildew spores
- Sawdust
Wash the surface with a mild exterior cleaner, then let it dry again before sanding or priming. Clean wood helps primer bond better and creates more even paint coverage.
Step 3: Sand Rough Areas
Light sanding helps smooth raised grain, rough edges, splinters, and areas with visible mill glaze.
Focus on:
- Splintered edges
- Railings
- Corners
- End grain
Remove all sanding dust before moving to the next step.
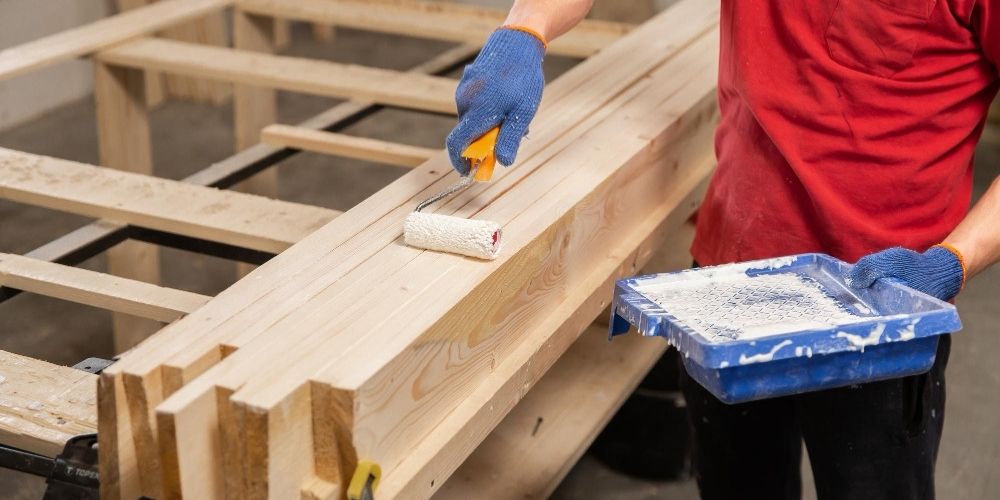
Step 4: Apply an Exterior Primer for Pressure-Treated Wood
Using the correct exterior primer for pressure-treated wood is one of the most important steps in the process. Primer helps improve adhesion, seal porous areas, and create a better surface for the topcoat.
A high-quality exterior wood primer designed for treated lumber works best for:
- Porch railings
- Exterior trim
- Deck skirting
- Stair risers
- Decorative exterior woodwork
Step 5: Apply Exterior Paint
After priming, use a quality exterior acrylic latex paint formulated for outdoor wood surfaces.
Use thin, even coats instead of heavy layers. Thick coats can dry unevenly and are more likely to fail under changing weather conditions.
Painting pressure-treated lumber carefully helps extend the lifespan of the finish and reduces maintenance later.
When to Call an Exterior Painting Contractor Near Me
Some exterior projects are manageable for homeowners, but larger or highly visible surfaces often benefit from professional preparation and application.
Searching for an exterior painting contractor near me makes sense when:
- The project involves tall exterior areas
- Railings and trim require detailed finishing
- Existing paint is peeling extensively
- Moisture damage is visible
- Multiple exterior materials are involved
- Surface preparation becomes time-consuming
A local exterior painting contractor near me can evaluate moisture levels, recommend compatible primer and paint, and plan the work around Prospect’s weather conditions. Proper timing often makes the difference between a finish that lasts several years and one that fails within a season.
Frequently Asked Questions (FAQs)
Can pressure-treated wood be painted in the spring in Connecticut?
Yes, but only after the wood has dried and the weather is stable. Spring rain, cool mornings, and humidity can delay drying, so always test the wood before priming.
What happens if pressure-treated wood gets rained on before painting?
Let it dry again before painting. Rain can raise the wood’s moisture level, and painting too soon may lead to peeling, bubbling, or poor adhesion.
Should pressure-treated wood be sealed before painting?
Do not apply a clear sealer before painting unless the coating manufacturer specifically recommends it. For most painted finishes, use an exterior primer for pressure-treated wood, then apply compatible exterior paint.
Is latex or oil-based paint better for pressure-treated wood?
Exterior acrylic latex paint is commonly used because it can expand and contract with outdoor wood movement. Pair it with a compatible exterior primer and follow the product label.
How do I know if my pressure-treated wood is too wet to paint?
If water beads on the surface, the wood is likely too wet. For a more accurate check, use a moisture meter and follow the paint manufacturer’s moisture guidelines.
Protect Exterior Wood With Proper Preparation
Long-lasting exterior paint starts with patience, proper prep, and attention to moisture conditions. Connecticut weather adds another layer of complexity, especially when working with freshly installed pressure-treated lumber.
For homeowners planning larger exterior projects, Prospect House Painting Pros helps evaluate surface readiness, choose the right products, and deliver durable finishes built for local conditions.