
What’s In This Guide
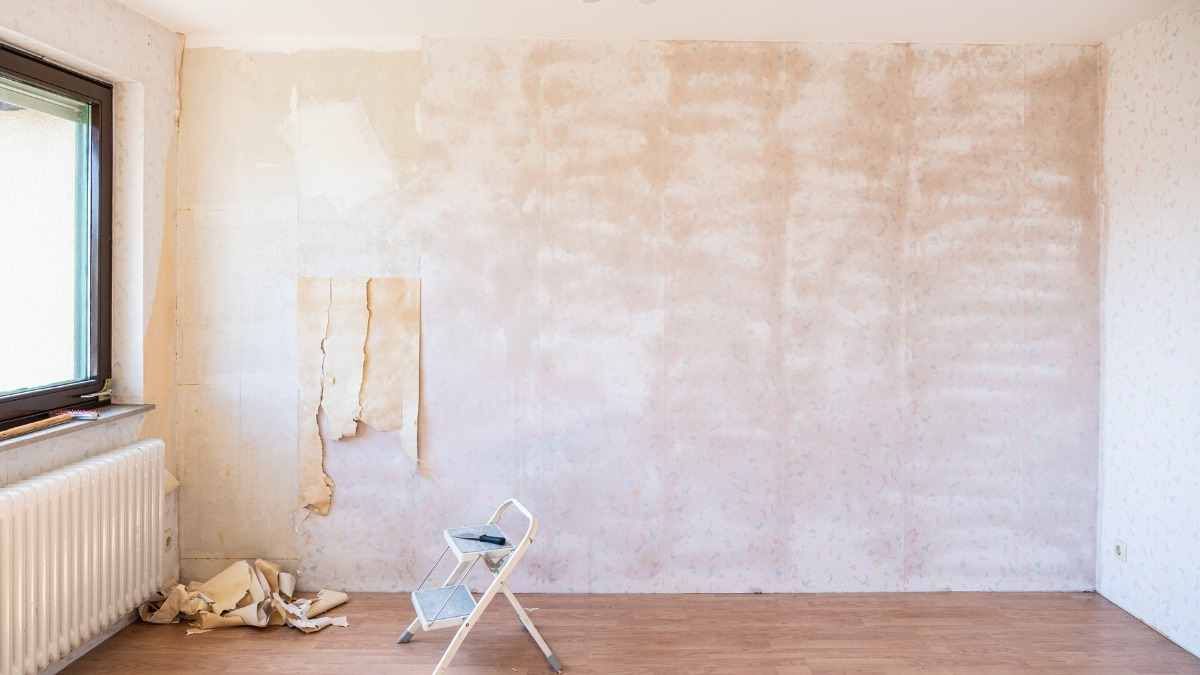
Removing wallpaper can expose a wall that is not paint-ready. Paste may remain as a shiny film, drywall facing can tear, and old repairs may become visible. Painting too soon can cause uneven sheen, bubbling, poor adhesion, or visible patch lines.
For homeowners in Prospect, CT, wallpaper removal and repainting should be treated as one surface-preparation project. Clean, repair, seal, and inspect the wall before applying the finish paint.
Quick Facts
- Remove all wallpaper adhesive before sanding, repairing, priming, or painting.
- Inspect the wall for torn drywall paper, gouges, cracks, stains, and moisture damage.
- Use spot repairs for isolated flaws and a skim coat when damage covers larger areas.
- Prime repaired walls to seal porous surfaces and promote a more uniform finish.
- Do not paint until the wall is clean, dry, smooth, stable, and free of tacky residue.
What Should You Check After Wallpaper Removal?
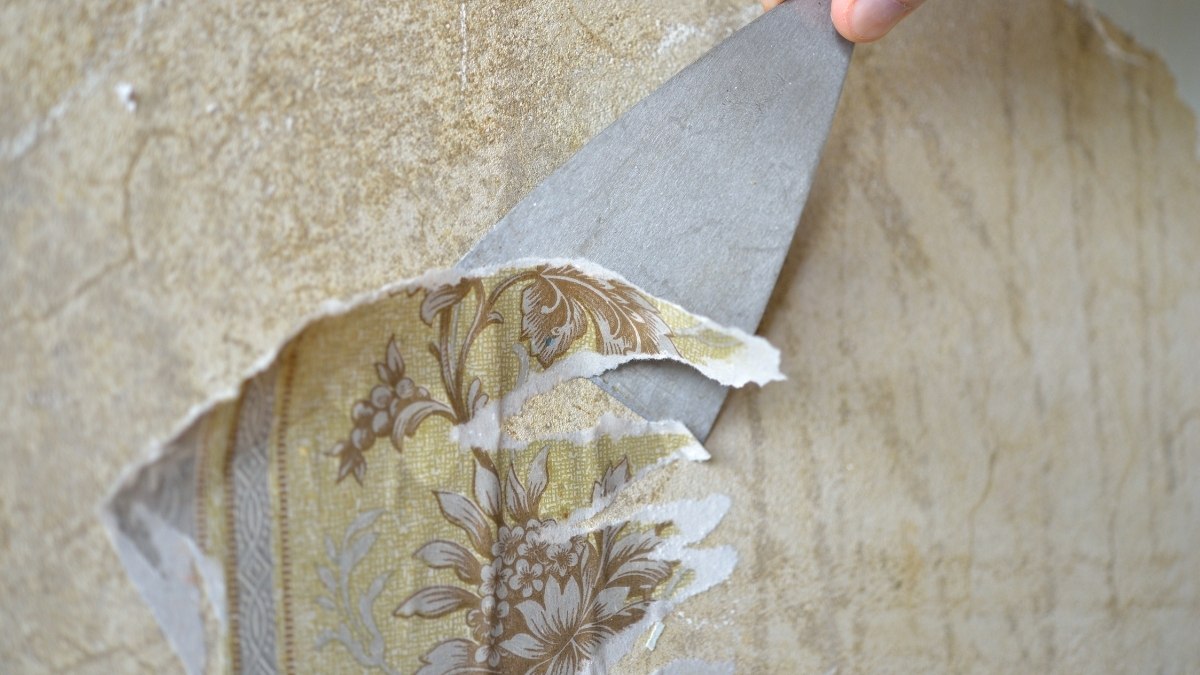
Inspect the wall under side lighting. Light aimed across it reveals ridges, torn paper, dried paste, dents, and uneven patches.
Check for:
- Sticky or glossy adhesive residue
- Loose fibers or torn drywall facing
- Scraper gouges, cracks, open seams, or nail pops
- Soft areas, staining, or signs of recurring moisture
- Texture differences between drywall, compound, and painted areas
Do not cover active moisture damage with primer or paint. Leaks, condensation, or deteriorated wall material should be addressed first.
How to Prepare a Wall for Paint After Removing Wallpaper
1. Remove Remaining Adhesive
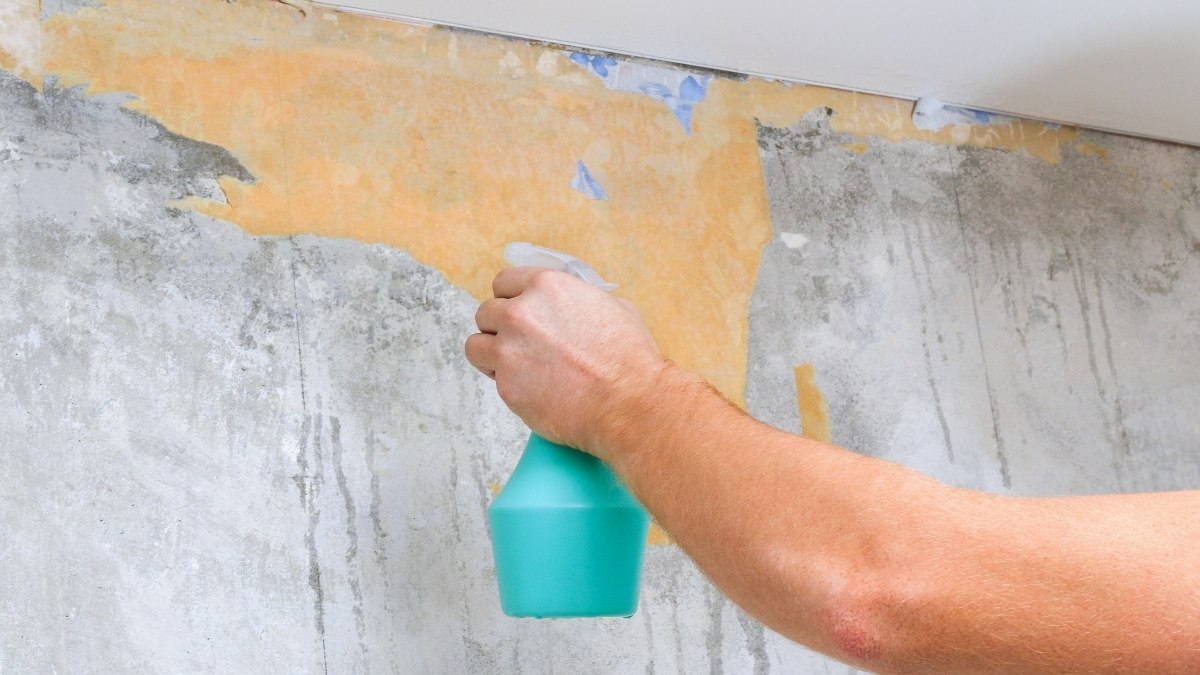
Wallpaper paste may remain nearly invisible until primer or paint reactivates it. Clean the wall using the wallpaper manufacturer’s recommended method or a suitable adhesive remover. Work in small sections without soaking drywall.
Rinse as directed and let the wall dry completely. The surface should not feel tacky, slick, or gummy. Glossy film often indicates remaining residue.
2. Stabilize Torn Drywall Paper
Gently remove loose fibers and unstable compound. Avoid aggressive sanding on fuzzy drywall facing because it can enlarge the damage. Seal exposed paper with a compatible problem-surface sealer before applying joint compound. This helps reduce bubbling when wet repair materials contact the paper.
3. Repair Holes, Gouges, and Cracks
Fill isolated dents, scraper marks, and fastener holes with an appropriate patching compound or joint compound. Deeper repairs may require several thin coats.
Recurring cracks, loose seams, soft drywall, or widespread delamination may need tape repair, drywall replacement, or further investigation. If you need wall repair and painting services in Prospect, CT, consider hiring a professional.
4. Decide Whether You Need a Skim Coat
Spot patching works when damage is limited. Skim coating is often better when torn facing, adhesive staining, roughness, or uneven texture affects much of the wall. A skim coat spreads a thin layer of joint compound across a broad area to create a uniform surface.
Joint compound may be used for skim coating, while primer helps equalize porosity between drywall paper and repairs. Without that step, patches may absorb paint differently and remain visible.
5. Sand and Remove Dust
After repairs dry, sand only enough to flatten ridges and blend edges. Use a fine abrasive and inspect again with side lighting. Vacuum the dust, then wipe the surface with a clean, lightly damp cloth when appropriate. The primer should bond to the wall, not sanding residue.
6. Apply the Right Primer
Primer matters because the wall may contain materials with different absorption rates. A compatible primer seals repairs, reduces flashing, and reveals remaining defects.
Choose the primer based on the wall’s condition. Torn paper, stains, residual adhesive, or extensive patching may require a specialized sealer rather than a basic drywall primer. Follow product directions for compatibility, drying time, and topcoating.
7. Perform a Paint-Readiness Check
After the primer dries, inspect the wall from several angles. Lightly sand raised fibers or patch edges, remove dust, and spot-prime repaired areas again when needed. The wall is ready when it is clean, dry, smooth, firm, residue-free, and uniformly sealed.
READ MORE: Peel and Stick Wallpaper Installation Made Simple
Lead-Safe Preparation in Older Homes
Wallpaper removal may expose older painted surfaces. According to the U.S. Environmental Protection Agency, 87% of homes built before 1940 and 24% of homes built between 1960 and 1978 have some lead-based paint. Sanding or scraping these surfaces can create hazardous dust.
For a pre-1978 home, review EPA lead-safe guidance before disturbing painted surfaces. Contractors performing covered work generally must follow applicable certification and lead-safe practices.
When Should You Hire a Professional?
Professional help makes sense when the wall has widespread adhesive residue, torn drywall paper, recurring cracks, moisture damage, or extensive areas that require skim coating. When comparing nearby paint and drywall services, look for contractors who evaluate the wall’s condition and required finish rather than focusing only on paint color.
Professional painters can help homeowners plan wallpaper removal, wall repair, priming, and interior repainting in Prospect, CT.
Frequently Asked Questions
Can I paint over wallpaper glue?
Painting over wallpaper glue is risky. Moisture from primer or paint can reactivate the residue and cause poor adhesion, texture problems, or discoloration. Remove as much adhesive as possible and use a compatible sealer when needed.
Do I always need to skim coat after wallpaper removal?
No. Small defects may only need spot repairs. Skim coating becomes useful when damage or texture variation covers a large portion of the wall.
How long should walls dry before priming?
Drying time depends on humidity, ventilation, water exposure, and the products used. Follow the manufacturer’s instructions and confirm that the wall feels dry and stable.
What primer should I use?
The right primer depends on whether the wall has bare drywall, torn paper, stains, residual adhesive, or extensive joint compound repairs. Match the primer to the actual surface condition.
Why are my walls bubbling after wallpaper removal?
Bubbling may occur when moisture reactivates leftover adhesive, weakens damaged drywall paper, or becomes trapped beneath the coating. Allow the affected area to dry before repairing and sealing it for repainting.
Plan Your Wall Repair and Painting Project
Proper preparation after wallpaper removal helps prevent visible defects and premature coating problems. To discuss damaged walls, primer selection, and repainting, contact Prospect House Painting Pros and request a free estimate today.